Class Photo

How to create a themed (or unthemed) class photo.

For Educators

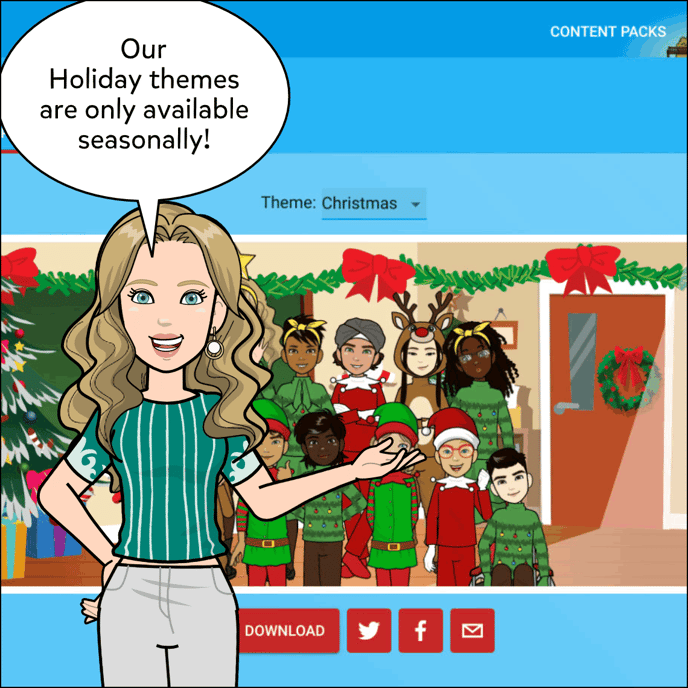
** Some Class Photo Themes Are Only Available Seasonally**

To Create A Class Photo:

  1. Ensure you have a teacher account.
  2. Invite Students to join your class. (see: Creating Classrooms & Adding Students)
  3. Have Students complete their Student Avatars. (see: How to Create Your Avatar)
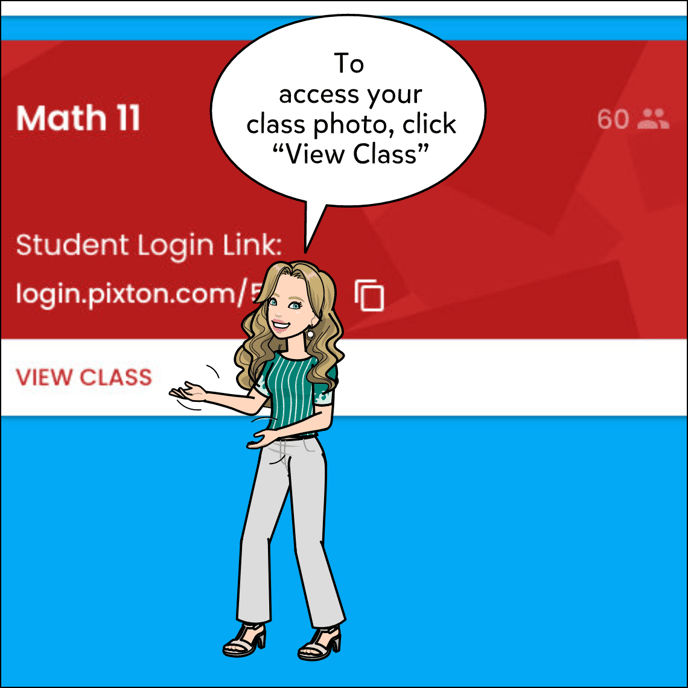
  4. Click "View Class"
  5. Select "Class Photo" tab.
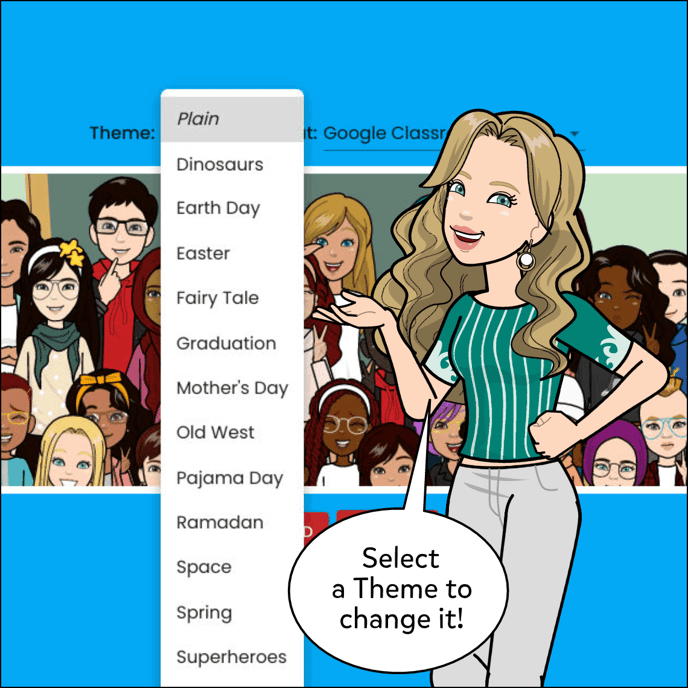
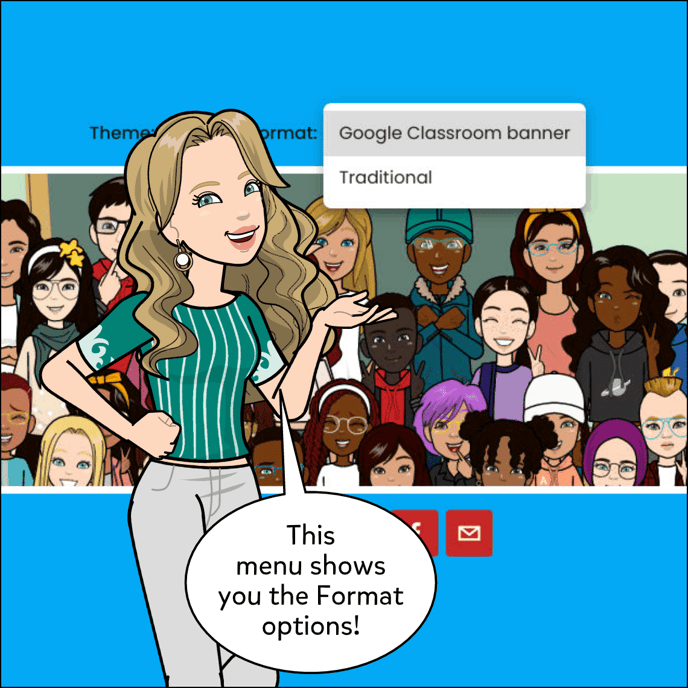
  6. Select Theme and Format.
  7. Download and Share!

Looking for the class photo? I can help!If you don't have one, you'll need to create an educator account at Pixton dot com.

As students join your class, they'll begin to populate the class as each of them create their avatar.

To access your class photo, click View Class.

Once you've entered, click on the Class Photo tab.You can add or remove a letter board with the grade and year, change the Theme or Format of the class photo by clicking on the menus at the top of the class photo.

There is a dropdown next to Theme above the class photo which shows all of the themes that are currently available.There is a dropdown next to Format above the class photo which shows the two formats available: Google Classroom banner and Traditional.

Image shows the winter class photo theme being used.

Image shows the Christmas class photo theme being used. Our holiday themes are only available seasonally.

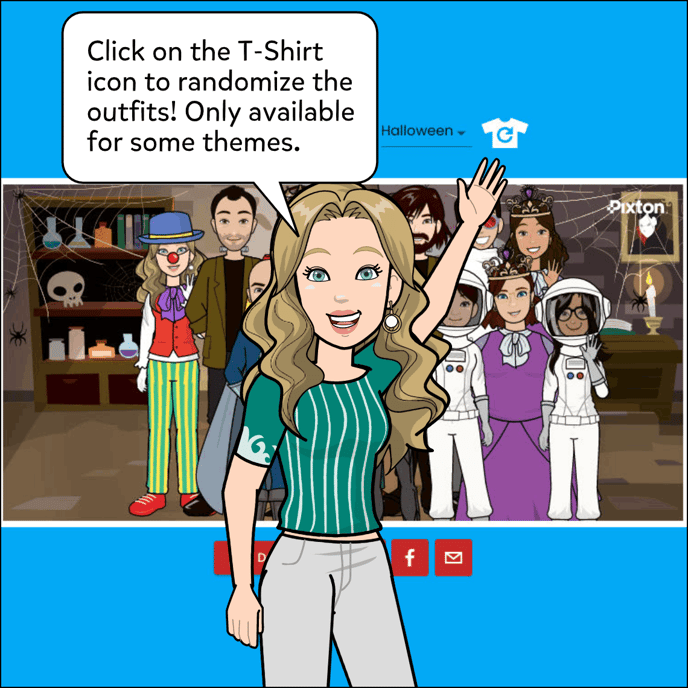
Outfits are applied randomly and may vary.Click on the T-Shirt icon to randomize the outfits. This option is only available for some themes. Picture shows a class photo and a T-Shirt icon at the top right.