The most important thing to keep in mind when creating your classrooms is that classes created with the Username option will not be compatible with classes created with the Clever, Google or Microsoft SSO (Single-Sign-On) options. We suggest deciding which will work best for you, your students and your school and sticking with that same option for all of your classes. Please note, Clever SSO is not compatible with the usernames login method.
- Select the My Groups tab.
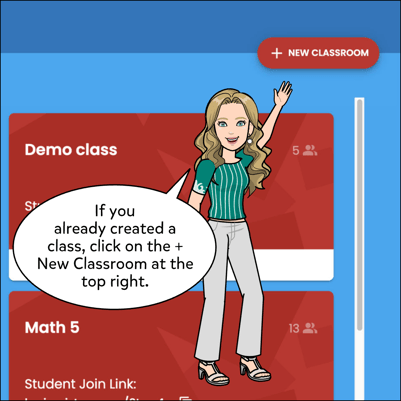
- Click the New Classroom button.
- Name the class.
- Select grade level(s).
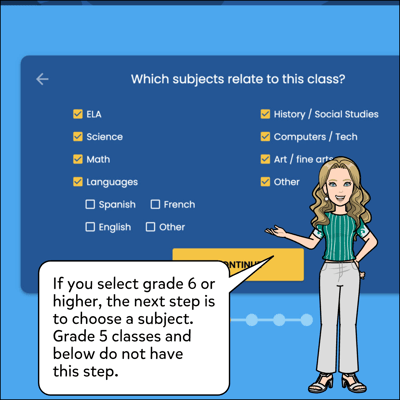
- Select subject (if grade 6 or above)
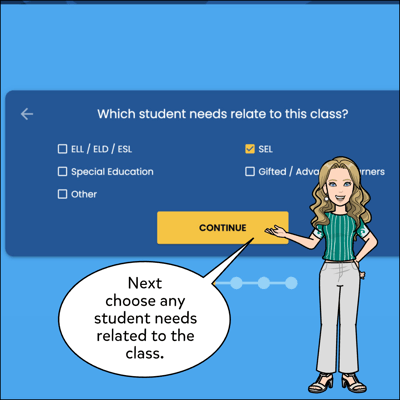
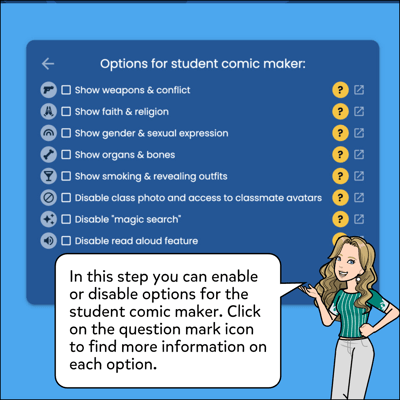
- Select special options.
- Choose the Email SSO (Clever, Google, or Microsoft, based on your own login method as the teacher) or Usernames option.
- If Usernames option is chosen, add students.
- Send the link from your classroom to the students.
How can my students join my class?
-
If the Email SSO option is chosen, share this article with your students: Joining A Class With An Email Address.
-
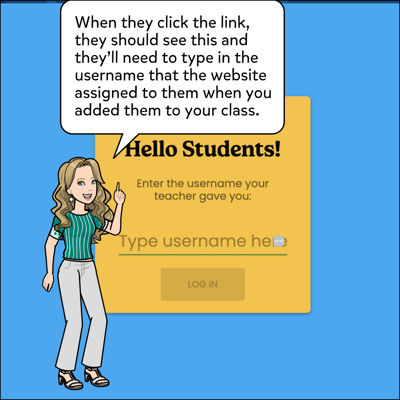
If Usernames option is chosen, share this article with your students: Joining A Class With Your Username.


Email SSO Options (Google or Microsoft):
It may be helpful to provide your students with this help article which shows how they can join a class with their email address: Joining A Class With Your Email


Usernames Option:
It may be helpful to provide your students with this help article which shows how they can join a class with their username: Joining A Class With Your Username.