Not Showing In Class Photo?

If you have a student who has created their avatar but isn't showing up in your class photo, follow the instructions below to fix it.

To make the missing avatar show up in the class photo:

1. Click View Class

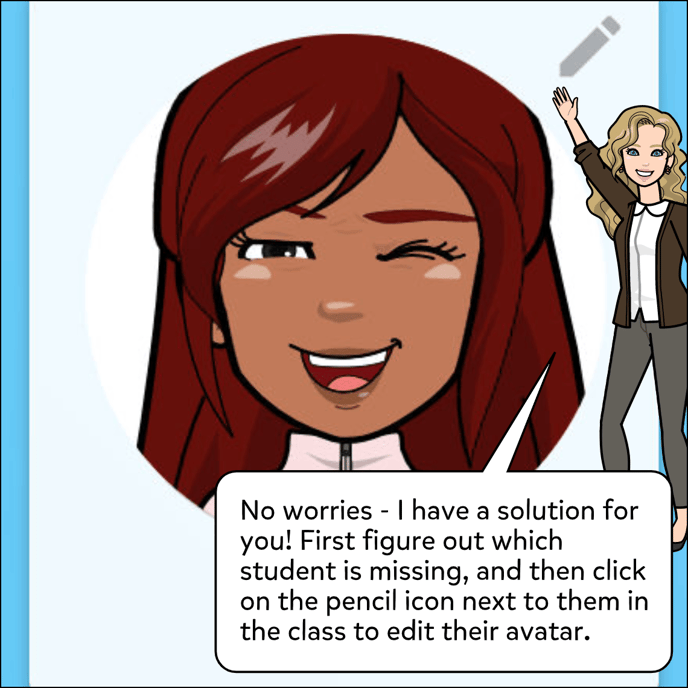
2. Click the pencil icon next to the affected student to edit their avatar

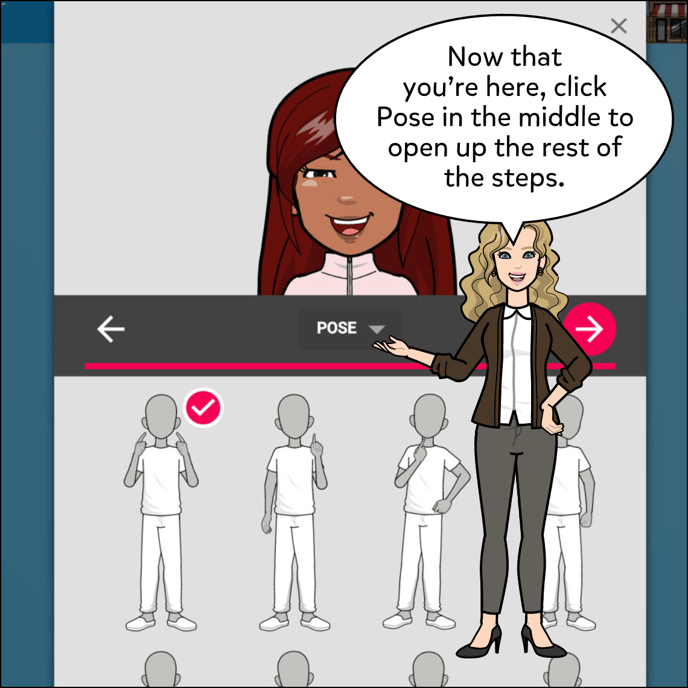
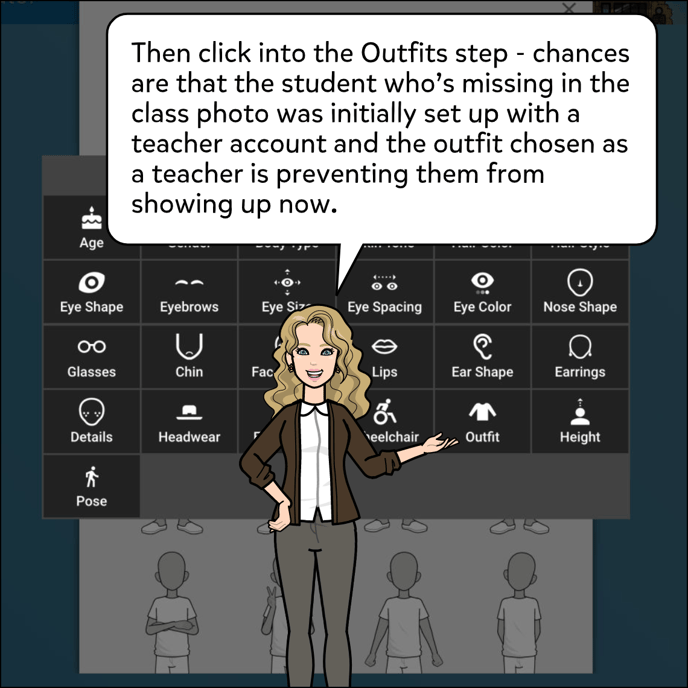
3. Click on Pose in the middle, skip to Outfit step

4. Select a new outfit, click through the rest of the steps and click Done

Are you seeing a wide open space where a student should be in your class photo?

No worries, I have a solution for you! First figure out which student is missing, and then click on the pencil icon next to them in the class to edit their avatar.

Now that you're here, click Pose in the middle to open up the rest of the steps.

The click into the Outfits step. Chances are that the student who's missing in the class photo had initially chosen an outfit that is no longer available.

Now just select a new outfit, and then click through the rest of the steps and click done. The student should show in the class photo now.

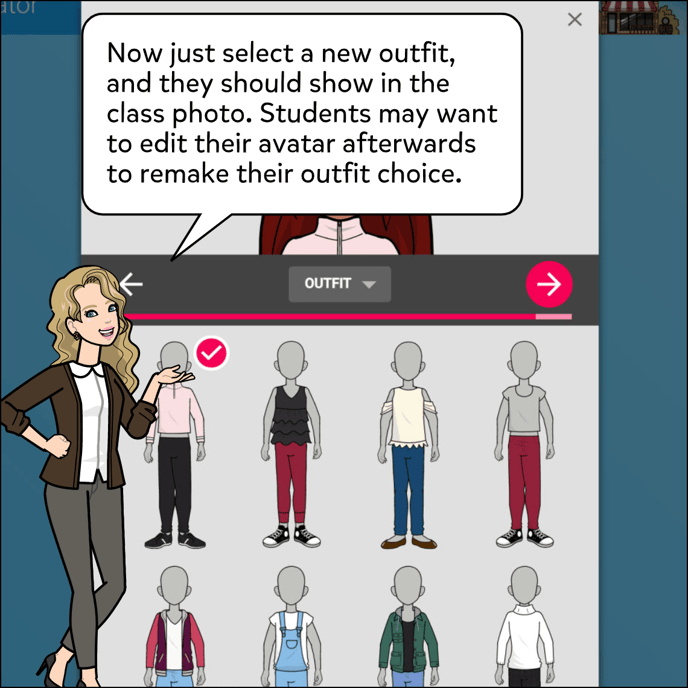
Students who would like to do this themselves or pick a new outfit afterwards can do so by following the instructions in this article: Edit or Download Avatar.