How To Edit A Student's Comic

How a teacher can edit a student's comic.

Teachers can edit students' comics by following these few steps:

1. Click View Class

2. Click student's name, or into Student Comics tab.

3. Click on the comic you'd like to edit.

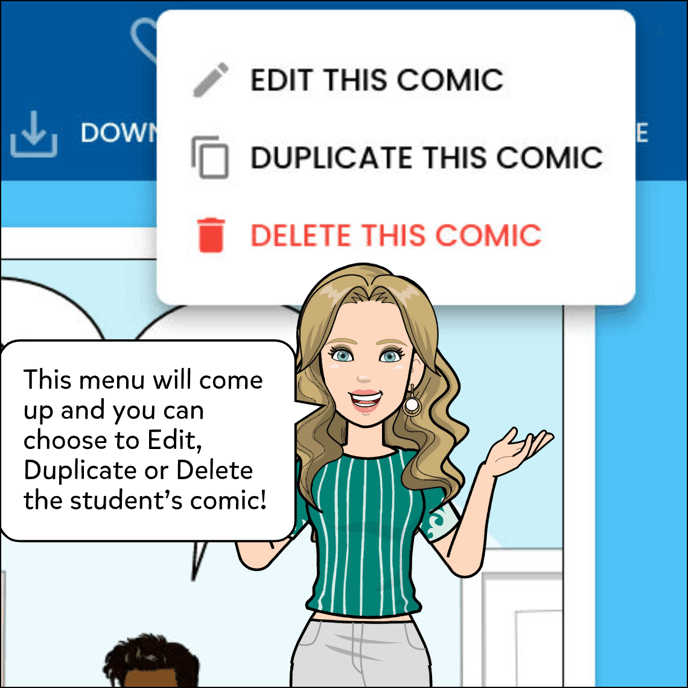
4. Click the three dots.

5. Click on Edit this comic & make necessary changes.

5. Click Done.

I'm here to explain how a teacher can edit a student's comic if needed.

Start by entering the classroom the student is in, to do so, click View Class.

Either click on the student's name in blue, and then click to open the comic, as clicking on the student's name will show you only the comics created by that student.

Or, click into the Student Comics tab and click on the comic you'd like to edit. The student comics tab will show you all of the comics created by all of the students in that class.

Now that you've opened the comic, click on the three dot menu to open it.

The three dot menu opened will give you options to Edit the comic, Duplicate the comic, or Delete the comic.